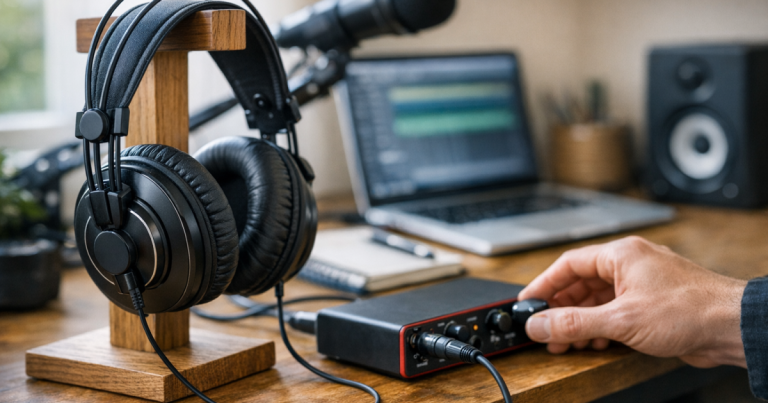
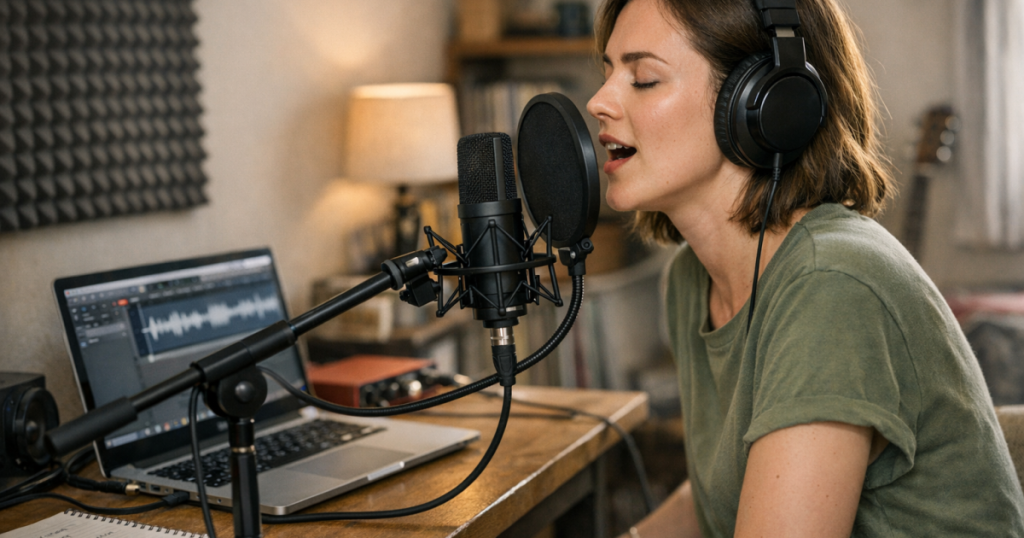
You do not need a vocal booth, a dramatic lighting rig or six hours of plug-in tweaking to finish your first complete vocal performance at home. You need a quiet-enough room, a simple recording chain, a clear target and permission to stop polishing once the recording is good enough to share, review or build into a larger project.
The aim for tonight is not a flawless radio-ready master. It is a finished vocal file you can listen to tomorrow without needing to remember what you meant to do next.
The short version for tonight
To record and export a finished vocal in one evening, choose one song section, podcast intro, voiceover or spoken piece; prepare the quietest part of your room; set a safe input level; record several full passes; choose the best take; make only essential edits; then export a WAV or MP3 file from your recording software. Keep the session narrow: one voice, one microphone position, one finished export.
- Best target: one complete vocal part of around one to three minutes.
- Best room move: record away from bare walls and hard corners, using soft furnishings already in the room.
- Best beginner rule: fix obvious problems before recording, not by over-processing afterwards.
- Best finish line: an exported file that plays correctly outside your recording project.
Start with the room you actually have
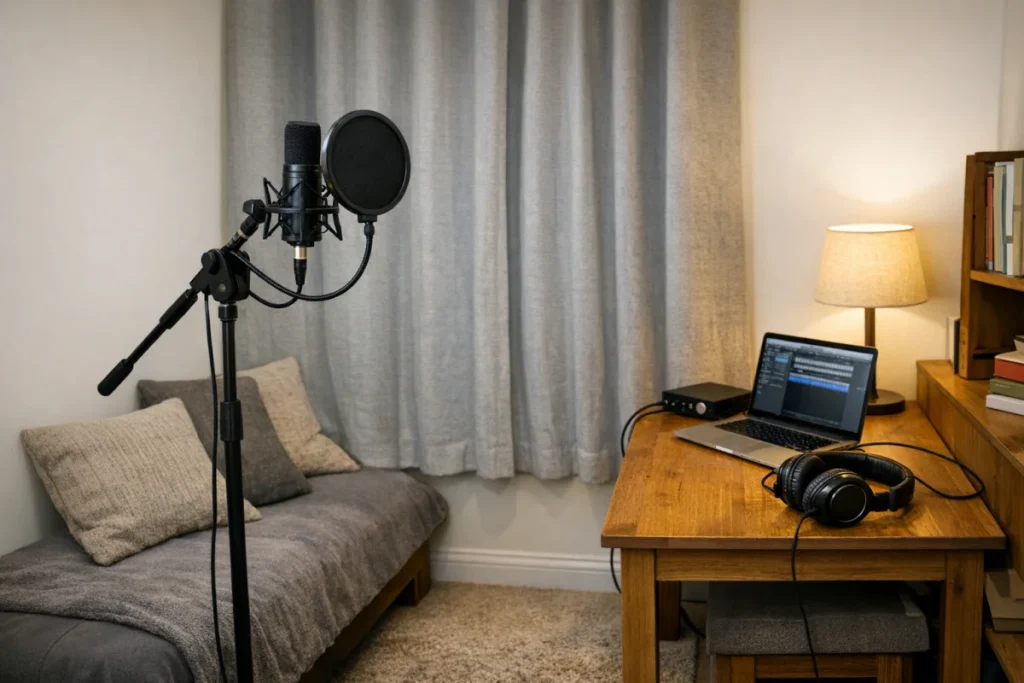
A normal British bedroom, box room or spare corner can work perfectly well for a first evening session if you make sensible choices. The goal is not soundproofing. It is reducing obvious reflections, traffic rumble, laptop noise and household interruptions long enough to capture a usable performance. If you want a wider view of what is realistic at home, the guide to an ordinary UK bedroom recording setup is a useful companion.
Before you plug anything in, stand in the room and listen. Is the washing machine on? Is a window open near a road? Is your chair creaking? These tiny distractions become much more annoying once a microphone is listening closely.
- Close windows and doors, but keep the room comfortable enough to perform naturally.
- Record with your back towards soft furnishings where possible, such as curtains, hanging clothes or a duvet.
- Avoid singing directly into a bare wall at close range.
- Put the microphone on a stand or stable desk arm rather than holding it, unless handheld movement is part of the performance.
- Tell housemates you need a short quiet window; it is less glamorous than a studio assistant, but often more useful.
Make the session smaller than your ambition
Big ideas are brilliant, but big sessions can swallow an evening. Tonight, choose a vocal job that has a clear end: a verse and chorus, a full demo vocal, a podcast opening, a narration paragraph, or a harmony stack for one section. If you try to write, arrange, record, edit, mix and reinvent your sound all at once, the session becomes a maze.
Write down the target before recording
Open a note on your computer or phone and write one sentence: “Tonight I am recording…” followed by the exact vocal part. Add the tempo or reference track if you have one, the lyric or script version you are using, and the file name you want at the end.
This tiny act prevents the classic beginner loop: recording ten fragments, changing the words halfway through, then ending the night with nothing you can export.
Use a simple recording chain
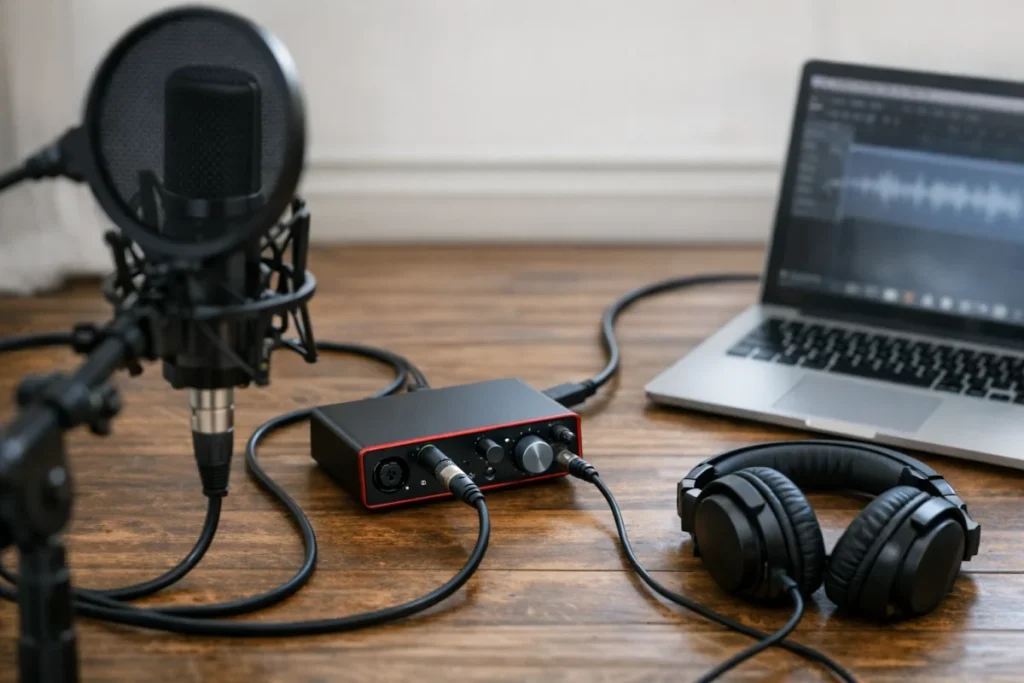
Your chain can be very modest: microphone, cable if needed, audio interface or USB connection, headphones and recording software. If you are still choosing the hardware, think in terms of the project rather than the biggest specification sheet. A solo vocal workflow may suit a compact USB audio interface, while a singer-guitarist may want room to connect more than one source later. The Beginner Home Studio Setup Finder can help you compare the route before you buy anything extra.
If you already have an interface such as the Focusrite Scarlett Solo, keep the setup plain for tonight: one microphone input, one headphone output and one vocal track. Avoid changing equipment mid-session unless something is genuinely not working.
Set your level before chasing a take
Input level is simply how loud your microphone signal is entering the recording software. Too low and the vocal may become noisy when you turn it up. Too high and loud words can distort in an unpleasant way that is difficult to repair.
Sing or speak the loudest line of the performance, not the first quiet line. Watch the level meter in your software and leave spare room before it reaches the top. If the loudest moments are lighting up the warning area or sounding crunchy, turn the input gain down and test again. A slightly conservative level is far safer than a heroic level that clips on the best chorus.
- Use closed-back headphones if you have them, so the backing track does not spill obviously into the microphone.
- Turn the headphone volume up only as much as needed to perform confidently.
- Use a pop filter or angle the microphone slightly if hard “p” and “b” sounds are jumping out.
- Record ten seconds, stop, and play it back before committing to the full take.
Record passes, not little scraps
When the red light goes on, beginners often stop at every tiny mistake. That can make the evening feel like a test you keep failing. Instead, record full passes. A full pass teaches you how the performance breathes, where you run out of air, and which lines need more emotional weight.
Do one warm-up take that does not count. Then record three proper takes from start to finish. If the piece is difficult, record the hard section twice more rather than redoing everything endlessly. Name the tracks or clips clearly: Take 1, Take 2, Take 3. Future-you will be grateful, and future-you is usually the unpaid assistant on home sessions.
After recording, listen once without editing. Mark the strongest take. If one take has the best overall feeling but one line is obviously wrong, replace only that line if your software makes it easy. If editing becomes fiddly, choose the best full take and move on. A convincing performance with one small imperfection usually beats a technically stitched-together vocal that feels nervous.
Edit only what helps the listener
Editing is where many first sessions disappear. The temptation is to remove every breath, tune every wobble and add every effect your software includes. For tonight, edit like a caretaker rather than a magician. Your job is to help the listener hear the performance clearly.
- Trim long silence before the vocal starts and after it ends.
- Add short fades at the beginning and end of clips to avoid clicks.
- Remove obvious false starts, bumps or repeated lines that are not part of the take.
- Keep natural breaths unless they are distractingly loud.
- Use light volume balancing before reaching for heavy processing.
If you add effects, keep them simple. A small amount of compression can even out a vocal, and a little reverb can help it sit with music, but both can also make problems harder to judge. Save a version before experimenting. That way, curiosity does not destroy the clean recording.
Export like the session is finished
Exporting is not an afterthought. It proves that your work exists outside the recording software. Save the project first, then use the export or bounce function in your DAW. If the software offers a choice, export a high-quality WAV for keeping and an MP3 for easy sharing. Use a clear file name such as “song-title-vocal-demo-date” rather than “final-final-new2”. That little naming habit prevents chaos surprisingly quickly.
After exporting, play the file outside the project. Listen on headphones, then briefly on another everyday speaker if available. You are not mastering the record tonight; you are checking that the file starts correctly, plays to the end, is not painfully loud or quiet, and contains the vocal you meant to finish.
Helpful questions
What if my room sounds boxy?
Move the microphone and performer before buying anything. Try facing into the room rather than towards a wall, step away from corners, and place soft material behind or beside the performer. Boxiness often changes more with position than beginners expect.
Should I record sitting or standing?
Choose the posture that helps the performance. Singing often benefits from standing because breathing feels freer. Spoken-word work can be fine seated, provided the chair is quiet and your mouth stays a consistent distance from the microphone.
How much editing is enough?
Enough editing means the listener is not distracted by avoidable noises, false starts or awkward gaps. It does not mean removing every human detail. If the vocal communicates the song, story or message clearly, stop and export.
Why it matters
A finished evening session teaches more than another week of reading about equipment. You learn where your room helps or hurts, how your voice behaves near the microphone, how loud to record, and how your software turns a performance into a shareable file. The next session will already feel less mysterious.
There is a quieter benefit too: finishing a small session gives you better judgement. Once you have exported a few vocals, you start hearing the difference between a problem that matters and a detail that only bothers you because you have looped it twenty times. A plosive that jumps out on every listen is worth fixing. A slightly imperfect breath before an honest line may be part of the performance.
This is especially useful if you are building confidence. Home recording can make people freeze because every choice feels permanent: microphone distance, gain, take selection, effects, file format. Treat tonight’s vocal as one useful version, not your lifetime statement. If you discover tomorrow that the chorus needed more energy, brilliant — you have learnt that from an actual recording, not from guessing.
That repeatable path also makes future upgrades clearer. Instead of buying gear because the internet says your setup is too simple, you can notice the real bottleneck: perhaps the room is too lively, your headphones leak into the mic, or you need a steadier stand. Finished files reveal priorities.
Most importantly, you end the evening with proof: a vocal performance captured, edited lightly and exported. That is the real beginning of a home studio habit. Not perfection, not a giant upgrade list, but a repeatable path from idea to sound.